Adaan BlogPro - Theme Documentation
Welcome to the official documentation of Adaan BlogPro and Adaan BlogPro Child. This guide will help you install, set up, and customize your theme with ease.
This theme is fully built from scratch, using pure PHP and WordPress structured tree functionality. It is feature-oriented, highly customizable, and ensures a seamless blogging experience!
1. Theme Installation
After downloading the theme ZIP file, follow these steps:
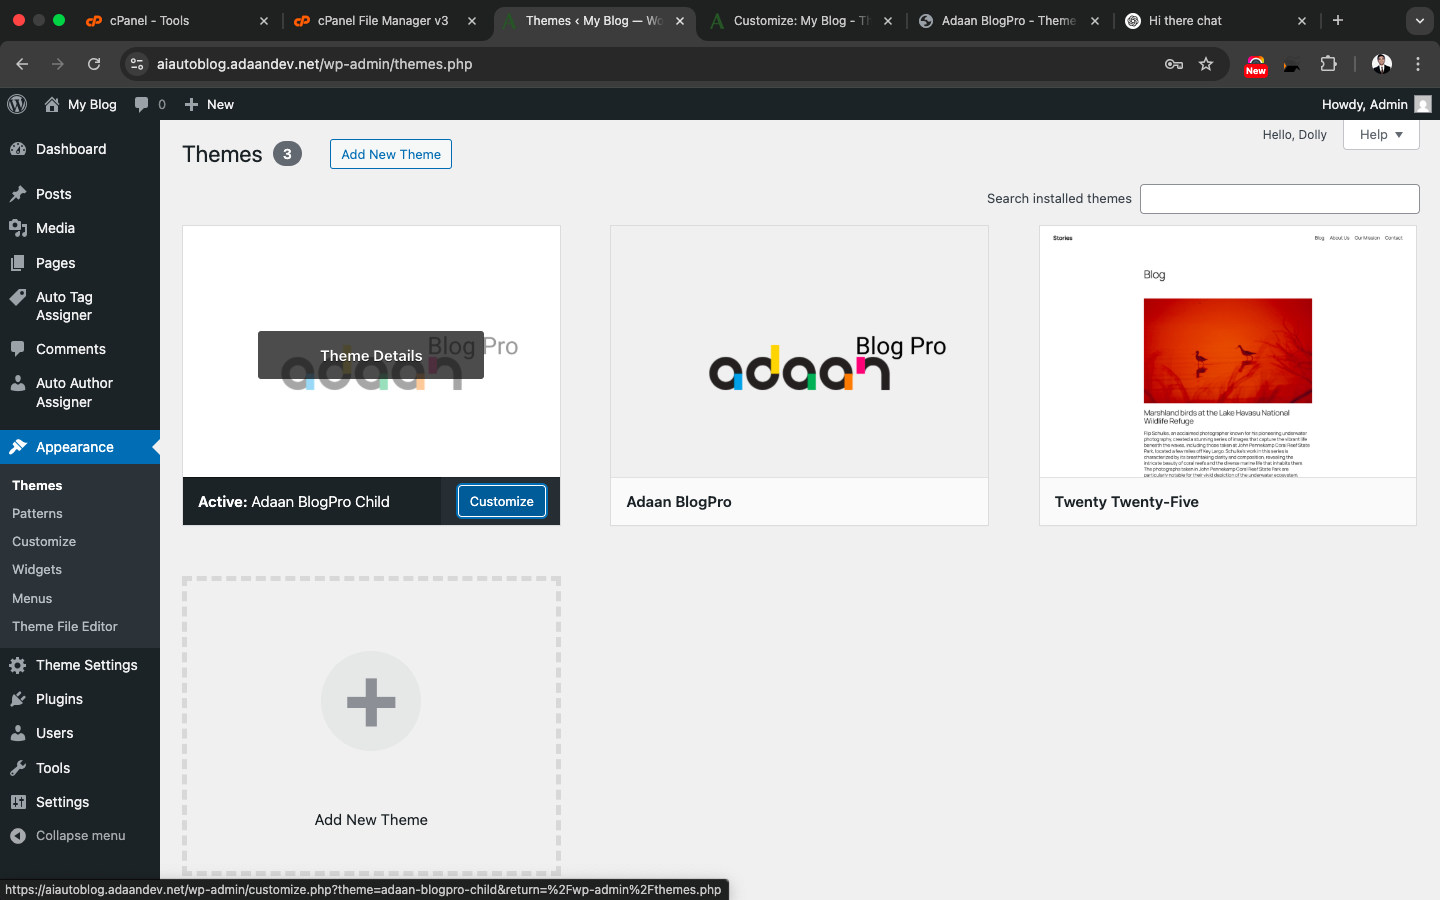
- Go to Appearance > Themes in WordPress.
- Click Add New and upload the theme ZIP file.
- Activate the theme.
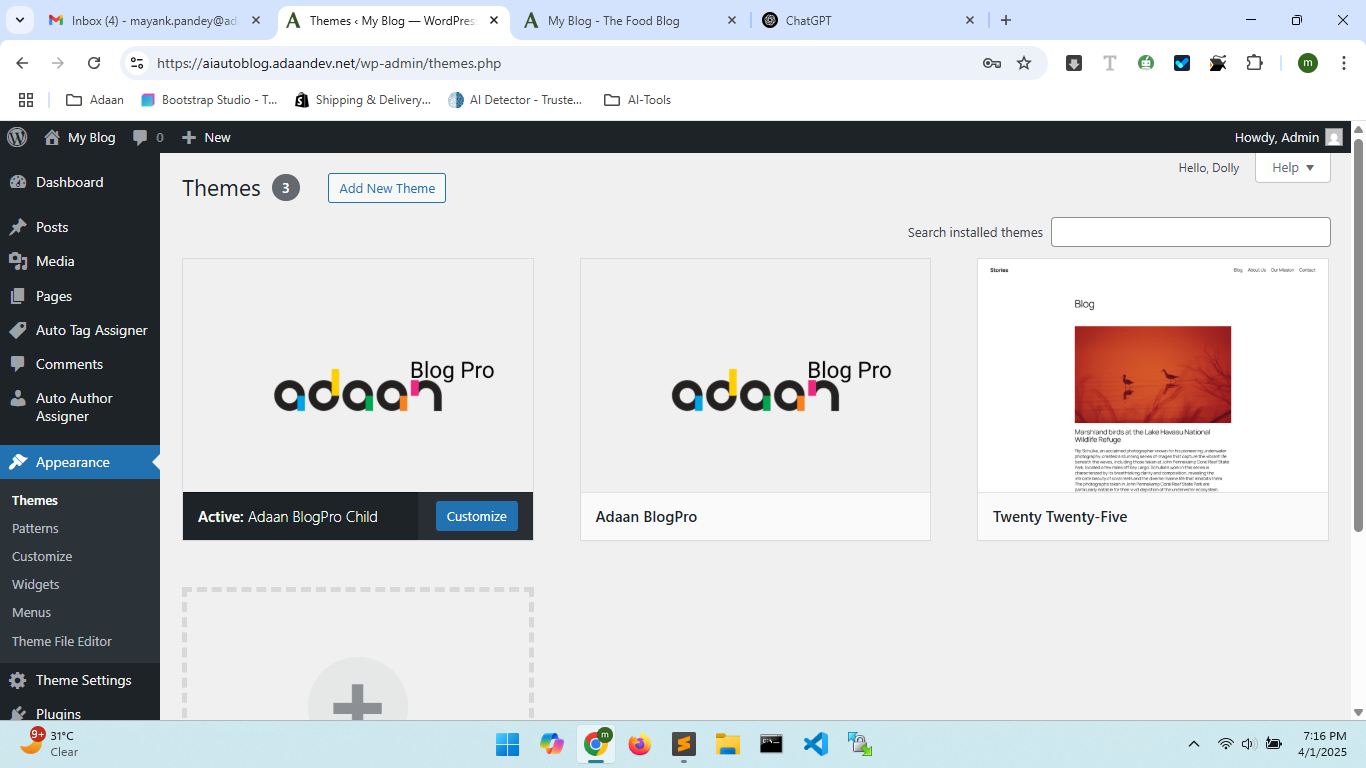
2. Activate the Child Theme (Recommended)
Using the child theme ensures that your customizations remain intact during updates. For security and future updates, it is highly recommended.
3. WordPress Site Identity Setup Guide
Site Identity Setup
Menus Setup
Widgets Setup
Homepage Settings
Option 2: You can also manage this through the Theme Appearance settings.
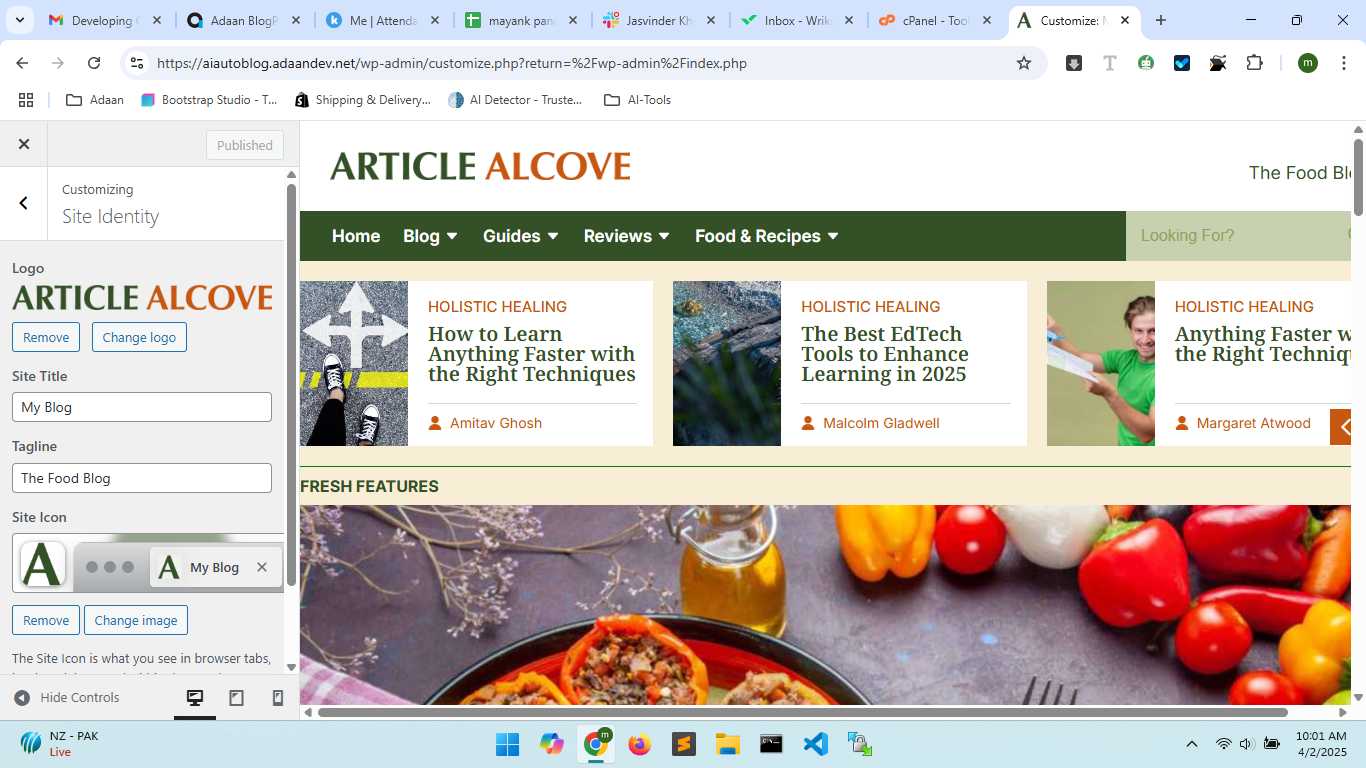
3.1 Steps to Customize Site Identity
If you want to set up your Logo, Site Title, Tagline, and Site Icon, follow these steps:
Step 1: Open WordPress Customizer
- Go to your WordPress Dashboard and navigate to Appearance → Customize.
- You will see the "You are customizing" panel, where various customization options are available.
Step 2: Open the Site Identity Section
- Click on Site Identity.
- Here, you will find the following options:
- Logo: Upload your business or website logo.
- Site Title: Enter your website’s name.
- Tagline: Add a short description that defines the purpose of your website.
- Site Icon (Favicon): Upload a small icon that will be displayed in the browser tab.
Step 3: Save Your Changes
- After customizing all the settings, click the Publish button.
- Your changes will be applied immediately to your website.
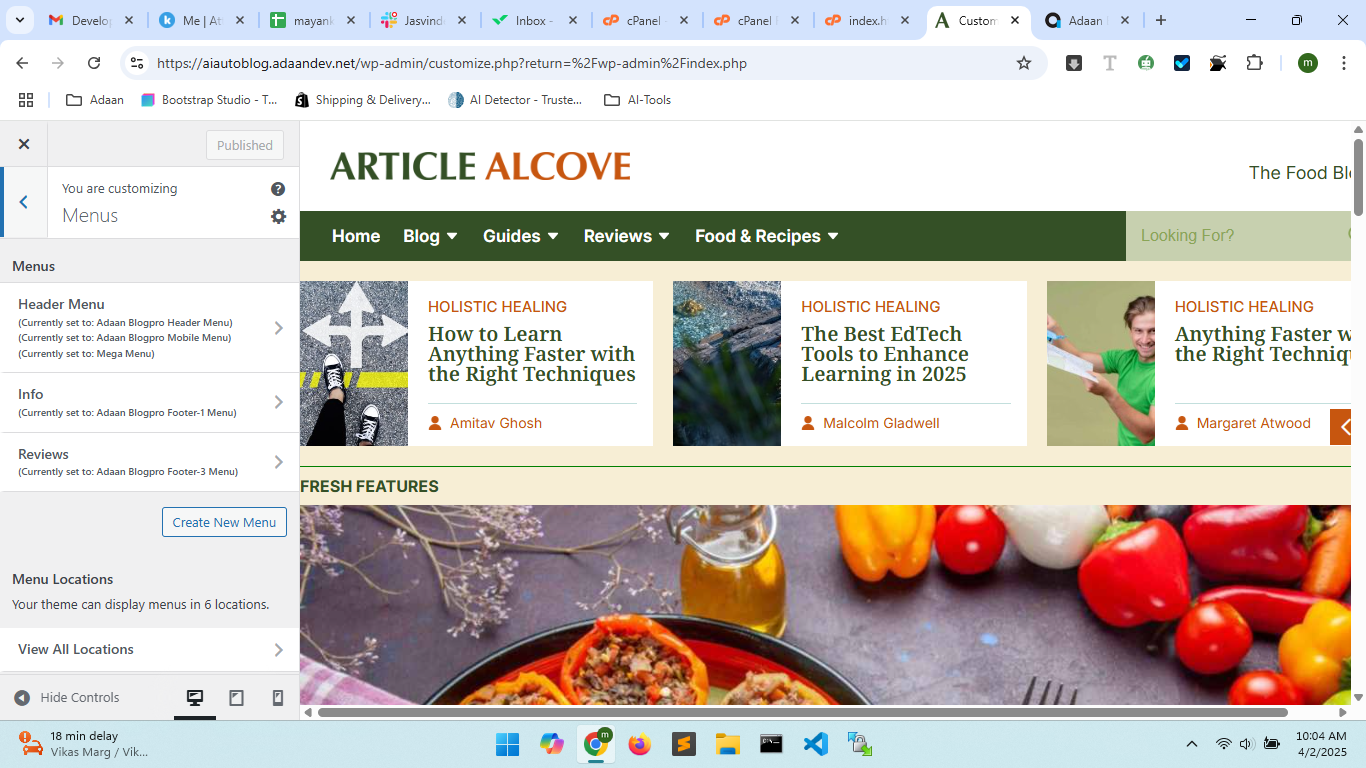
3.2 Additional Customization Options
When you open the Customizer panel, you can modify not just Site Identity but also the following settings:
- Menus: Create or edit navigation menus.
- Widgets: Add widgets to the sidebar or footer.
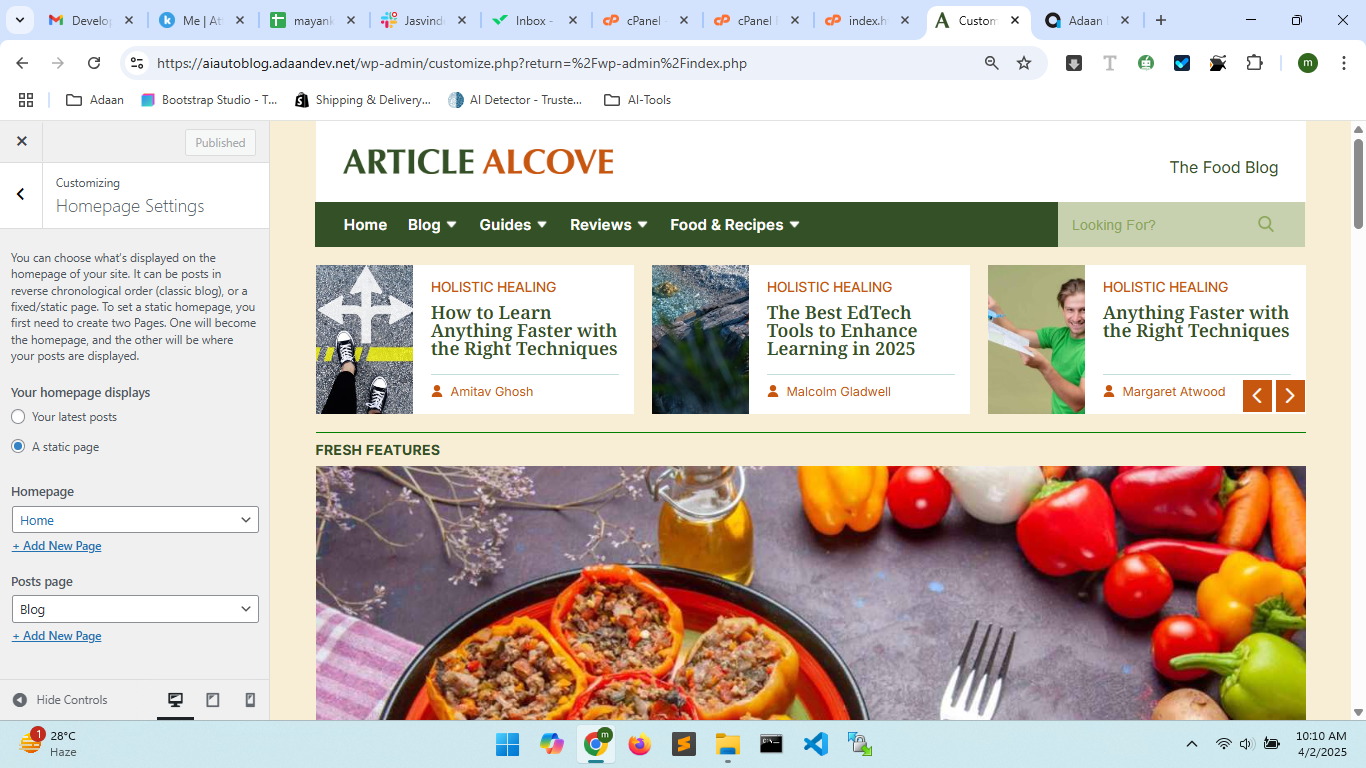
- Homepage Settings: Set a static homepage or display the latest posts.
- Additional CSS: Add custom CSS to modify your website’s design.
If you want to access these settings directly, you can click the Customize button from the theme settings.
4. Theme Settings
Once activated, navigate to Theme Settings from the left menu (as shown below).

Here, you can customize:
- Header Carousel (Category & Limit)
- Sidebar Reviews (Category & Limit)
- Sidebar Latest Blogs (Category & Limit)
- Tag, Category, and Author Page Banners
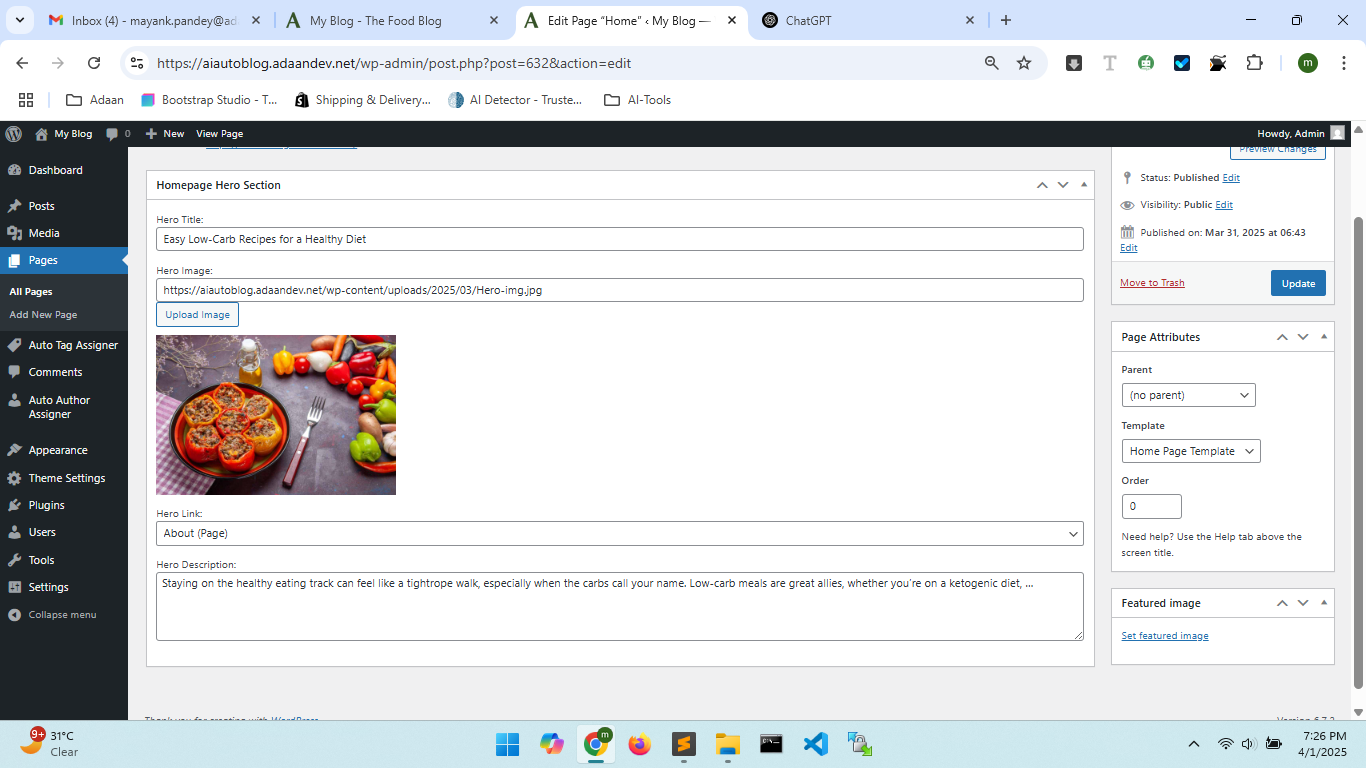
5. Creating the Homepage
Follow these steps:
- Go to Pages > Add New.
- Name it "Home" and assign the Home Page Template.
- Configure the Homepage Hero Section (Title, Image, Link, Description).
- Click Publish.
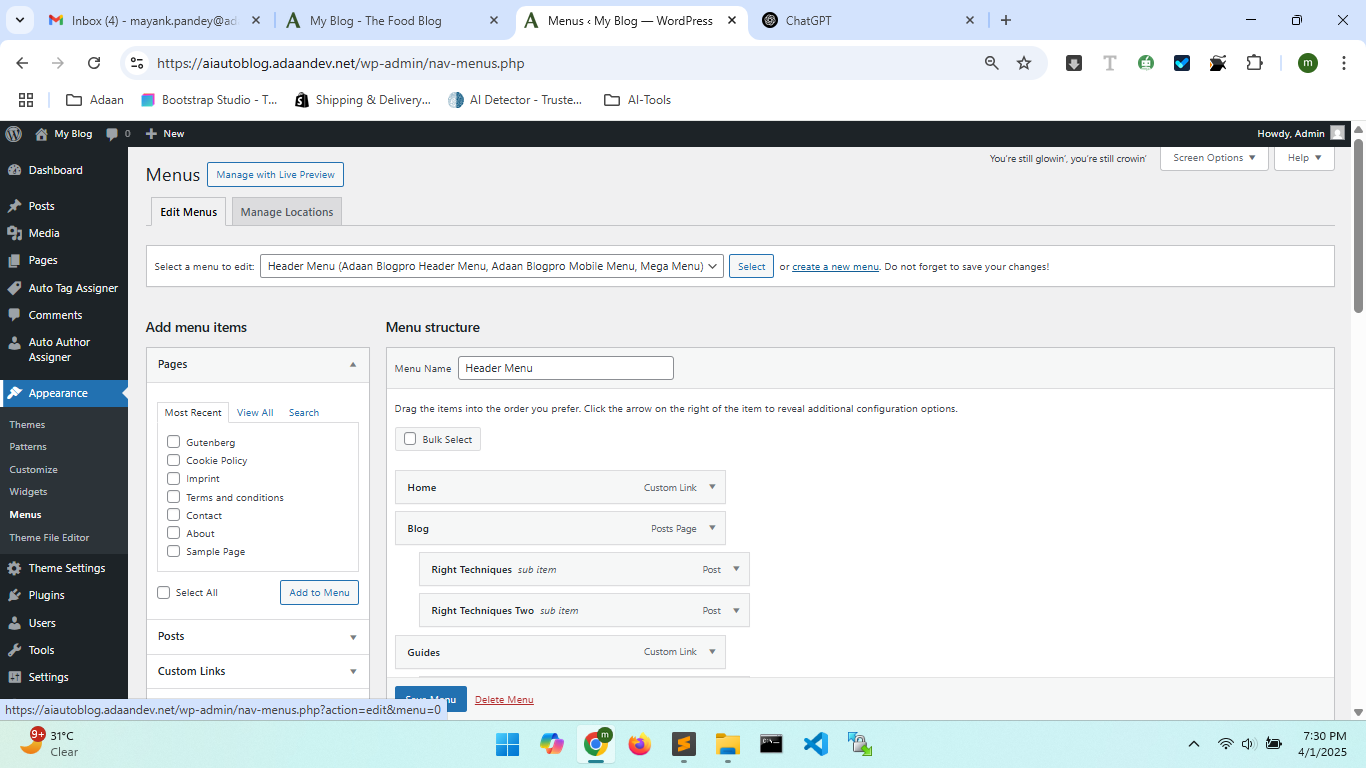
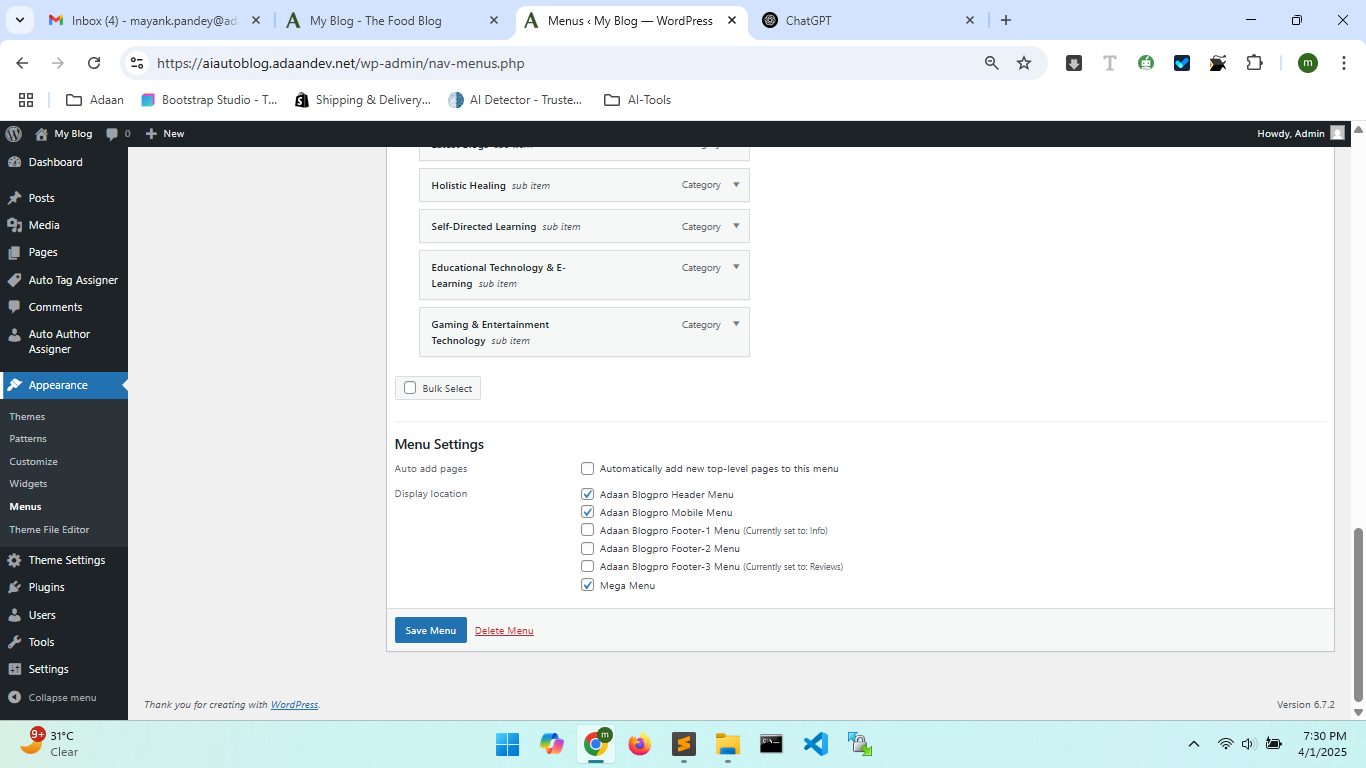
6. Setting Up Menus
Navigate to Appearance > Menus and create a new menu. Assign it to:
- Header Menu
- Mobile Menu
- Footer Menu(s)
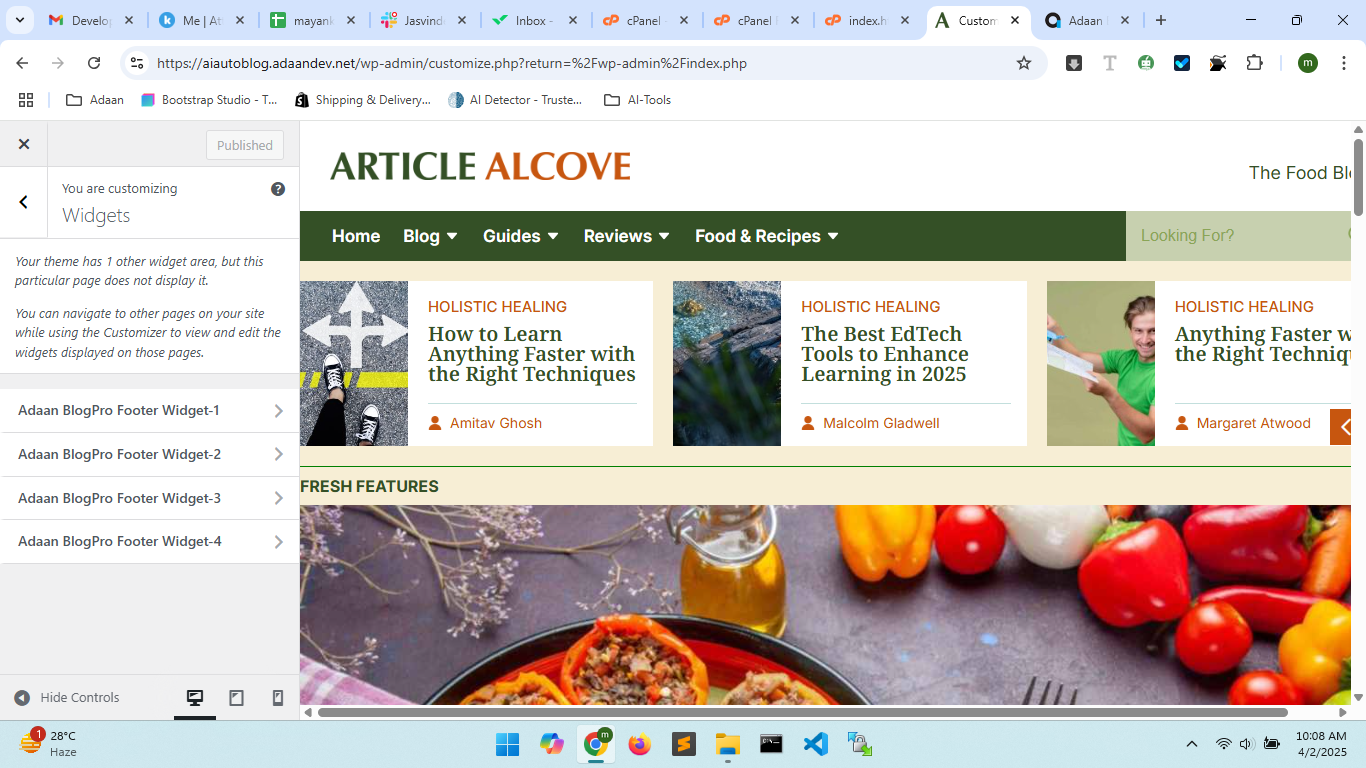
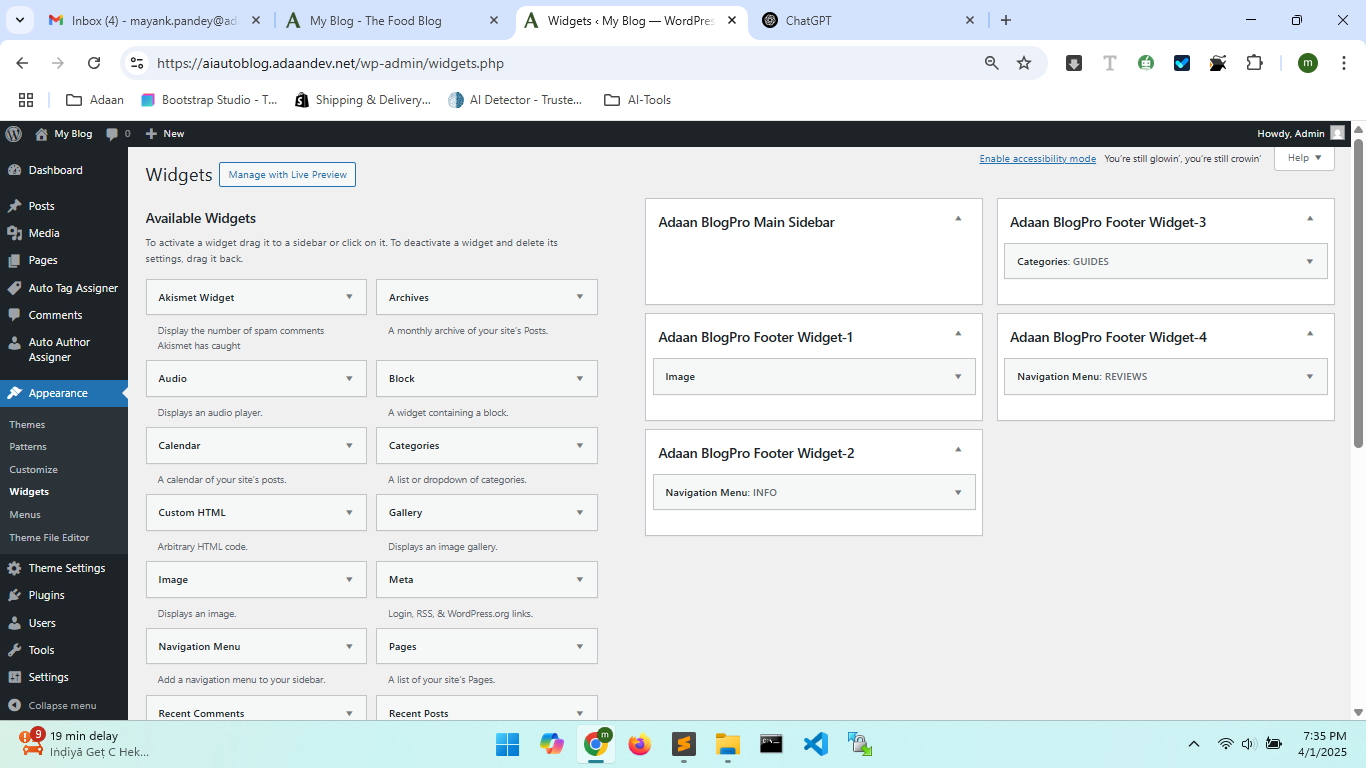
7. Footer Widgets
To add widgets, go to Appearance > Widgets and configure footer areas.
8. Mega Menu Feature
Enable advanced menu properties:
- Go to Screen Options (top-right corner).
- Enable CSS Classes.
- Add
mega_dropdownas a class for your mega menu.

9. Theme Templates
The theme includes the following templates:
- Default Template
- Blog Page
- Home Page Template
10. Built-in Features
The theme includes:
- Automatic Category, Tag, and Author Assignment
- Automatically fetch and display the latest three posts from a category in the mega menu on the header.
- Dynamic Blog and Homepage Read More Buttons
- Advanced Search (min. 3 letters required)
- Social Sharing (Facebook, LinkedIn, Twitter)
11. Additional Tools
We provide extra plugins to enhance your experience:
- Auto Blog Generator Generates blogs with images.
- Auto Tag Assigner Assigns tags automatically.
- Auto Author Assigner Assigns authors instantly.
These plugins are available upon request at Adaan Support.
12. Compatibility
This theme is compatible with:
- Gutenberg & Classic Editor
- Popular Page Builders (Elementor, WPBakery, etc.)
13. Support & Future Updates
Adaan BlogPro is a free theme, and we are constantly improving it. If you need support, raise a ticket at our support center.
We appreciate your support and look forward to making your blogging experience amazing!